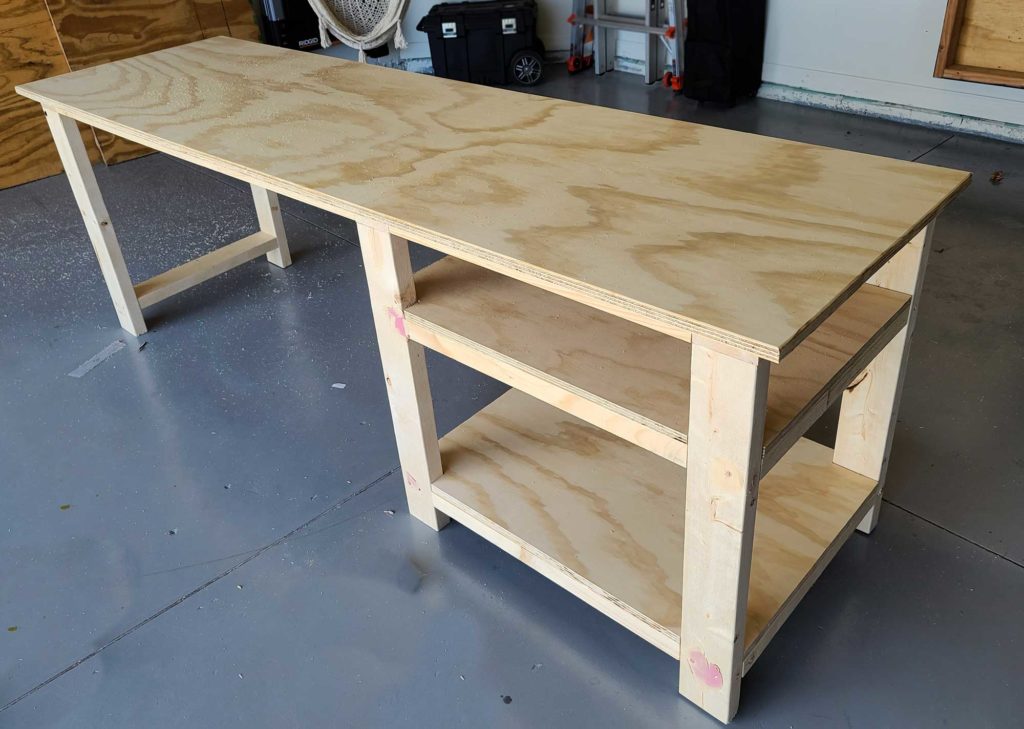
Okay, let's talk about building a desk. Not just any desk, but a beast of a desk. The kind that can handle all your gear, your coffee spills, and the occasional impromptu dance party (because, hey, we've all been there). Think solid, sturdy, and built to last.
Now, before you grab your hammer and start drilling, let's lay out a plan. This is not just about throwing some wood together, this is about creating a desk that will be a part of your life for years to come.
1. The Foundation of Your Desk: Choosing the Right Wood
Imagine a desk that's built to last for generations. To achieve that, you need the right wood. Think hardwoods, like oak, maple, cherry, or walnut. They're tough, they're beautiful, and they'll weather the test of time.
Oak: Strong, durable, and with beautiful grain patterns, oak is a classic choice. It's also relatively affordable, making it a great option for those on a budget.
Maple: Known for its beautiful, even grain and warm color, maple is a fantastic choice if you want a desk with a touch of elegance.
Cherry: This wood offers a rich, reddish-brown hue that will age beautifully over time. It's a bit more expensive than oak, but the stunning finish is worth the investment.
Walnut: If you want a desk that exudes sophistication and elegance, walnut is your choice. Its deep brown color and striking grain patterns will be the envy of all your friends.
But wait! You can also go for more affordable and sustainable alternatives like:
Pine: A softwood, it's known for its affordability and easy workability. But, it's softer than hardwoods and might not be as durable.
Redwood: A stunning reddish-brown wood, redwood is naturally resistant to rot and insects, making it a great option for outdoor projects.
2. Designing Your Desk: Plan It Like a Pro
Okay, now for the fun part! Grab a notebook and pencil and start brainstorming:
What size do you need? Think about the space you have, the chair you’ll use, and how much room you need for your laptop, monitor, and all those important supplies.
What shape do you want? Traditional rectangular? Modern L-shape? Or something else entirely?
What kind of storage do you need? Drawers, shelves, cubbies â€" the options are endless!
Do you want a clean, minimalist design or something more ornate? Consider adding molding or decorative elements to personalize your desk.
What’s your budget? Keep your materials and tools in mind when designing your desk to avoid sticker shock later.
3. Putting the Plan into Action: Cutting, Joining, and Assembly
Alright, now it’s time to get your hands dirty (literally!). This is where your skills and precision come into play.
Cutting: Invest in a good quality saw, whether it's a table saw, circular saw, or miter saw. Cutting precise angles and lengths is key to a well-built desk.
Joining: You have several options for joining wood:
Pocket holes: A simple and strong method, especially for beginners.
Dowels: A more traditional and elegant approach, but requires a bit more skill and precision.
Mortise and tenon joints: A classic and strong joinery technique, but more complex and time-consuming.
Glue: A staple of woodworkers, a good quality wood glue will hold your desk together for years.
4. Adding the Finishing Touches: Sanding, Staining, and Sealing
Now it's time to give your desk the perfect finish:
Sanding: Start with coarse sandpaper to remove any rough edges and then work your way up to fine sandpaper to create a smooth surface.
Staining: Staining adds color and depth to your wood, enhancing its natural beauty. Choose a stain that complements your wood choice and personal style.
Sealing: A sealer protects your desk from scratches, spills, and moisture. Consider using polyurethane or varnish for a durable finish.
5. Tools You'll Need for Building a Desk:
Saw (Table saw, circular saw, or miter saw)
Drill with various drill bits
Screwdriver
Clamps
Measuring tape
Level
Sandpaper (various grits)
Wood glue
Wood stain (optional)
Wood sealer (optional)
Safety glasses
Dust mask
A Few Tips to Keep in Mind:
Plan ahead: Before you start cutting, make sure you have a detailed plan and understand how all the pieces will fit together.
Measure twice, cut once: Avoid costly mistakes by carefully measuring and double-checking your measurements before making any cuts.
Use the right tools: Using the right tools for the job will make the process smoother and safer.
Take your time: Don't rush the process. Take your time and enjoy the journey of creating something beautiful and functional with your own two hands.
Ready to Start Building?
With a little planning, patience, and passion, you can create a desk that will be the envy of your friends and a true testament to your DIY skills. Go forth, and let the wood be with you!


No comments:
Post a Comment
Note: Only a member of this blog may post a comment.