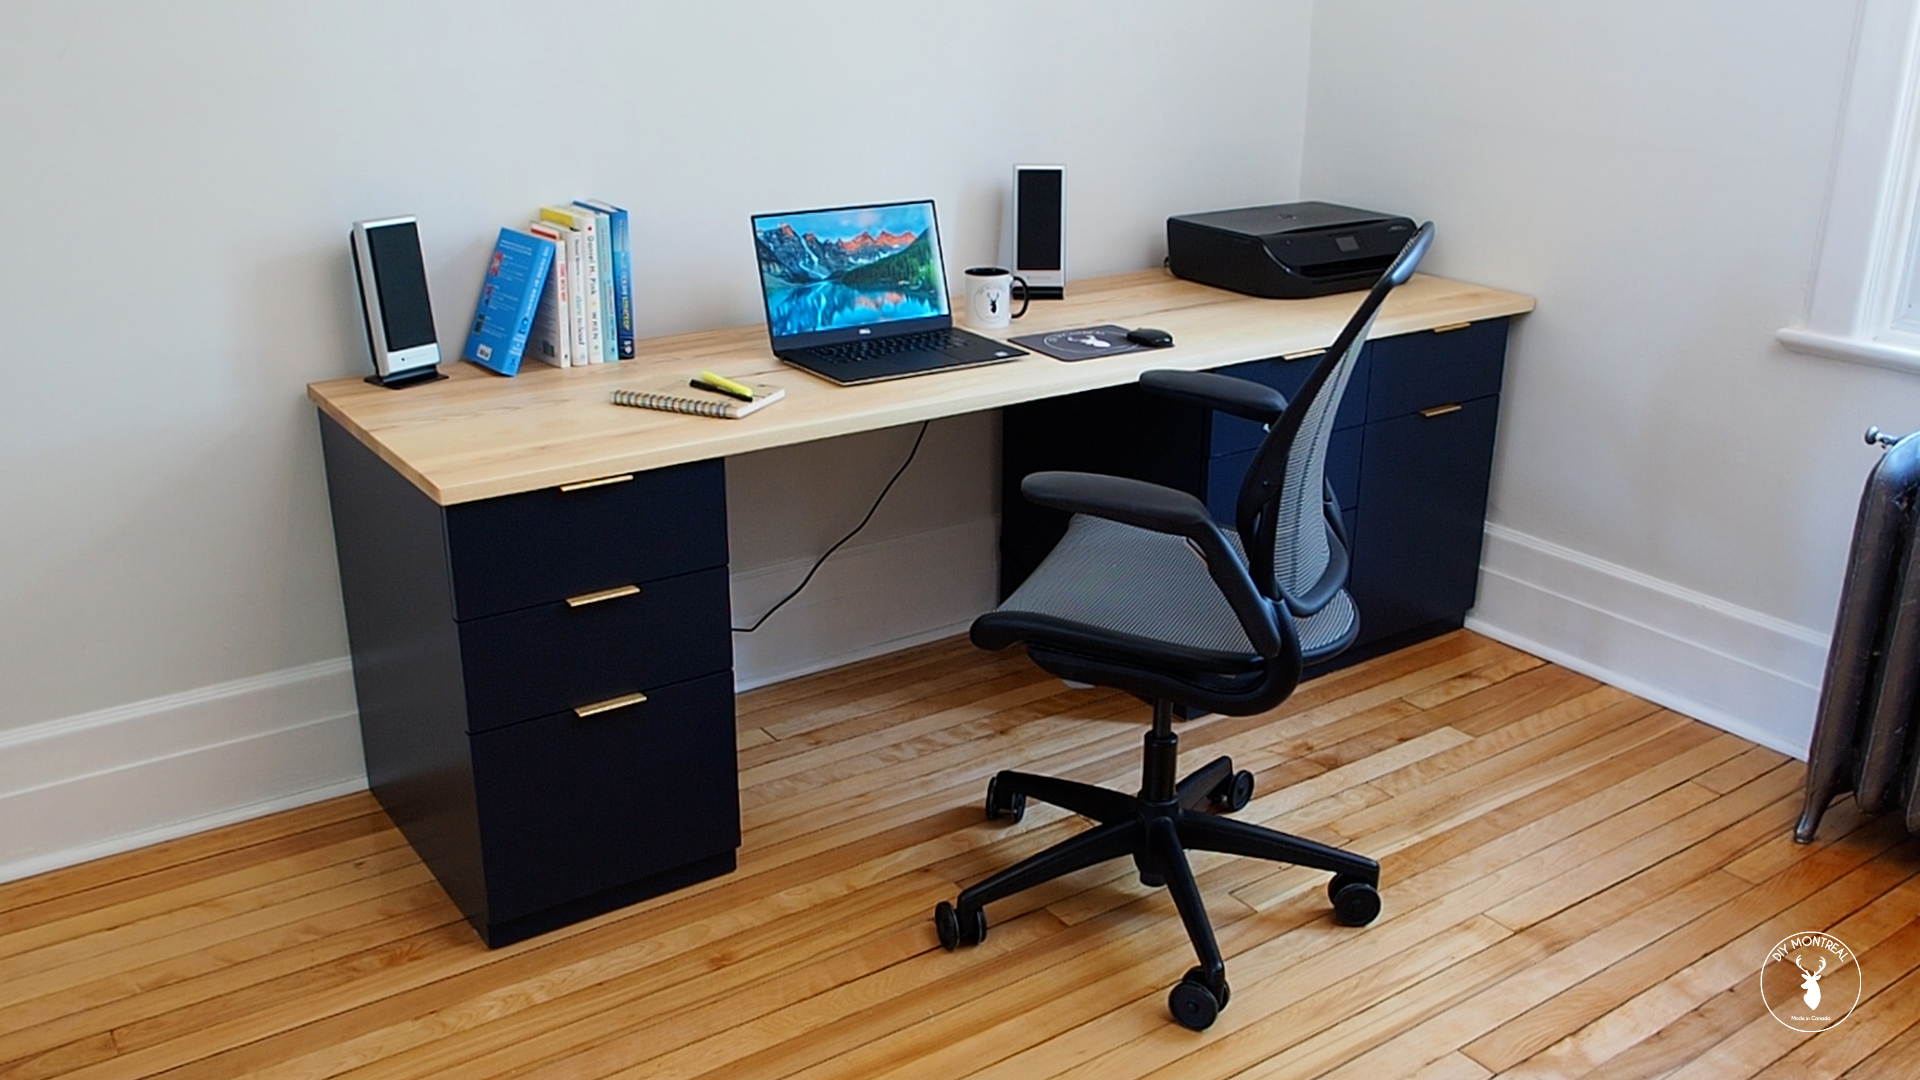
Constructing a Wooden Desk with a Sliding Drawer System
A custom-built wooden desk with a sliding drawer system offers a unique and functional addition to any workspace. This comprehensive guide will equip you with the necessary knowledge and steps to successfully craft such a desk, enabling you to create a personalized piece that complements your individual style and needs.
Planning and Design
Determining Dimensions and Functionality
Start by defining the desired dimensions of your desk. Consider the available space, the intended use of the desk, and your preferred working posture. A comfortable desk height typically ranges from 28 to 30 inches. Determine the length and width based on your workspace requirements and the amount of storage space you need. Think about the number and size of drawers that would best suit your needs.
Material Selection
Choose high-quality, durable wood for your desk construction. Popular options include oak, maple, cherry, walnut, and pine, each possessing unique characteristics and aesthetics. Consider the desired weight, color, and grain pattern of the wood when making your selection.
For the drawer system, opt for sturdy materials like plywood or melamine-coated chipboard for the drawer boxes. These materials offer excellent stability, moisture resistance, and affordability. Solid wood can also be employed for the drawer fronts to enhance the overall look of the desk.
Designing the Drawer System
The drawer system is a critical component of your desk. Consider the following factors when designing it:
- Drawer Size: Determine the number of drawers required, their dimensions, and the intended use of each drawer.
- Slide Type: Choose between side-mount slides or undermount slides. Side-mount slides are cost-effective and commonly used for lighter drawers. Undermount slides offer smooth extension and higher weight capacity.
- Slide Extension: Decide on the extension length of the slides. Full-extension slides allow for complete access to the drawer contents, while partial-extension slides offer a more compact design.
Materials and Tools
Gather the necessary materials and tools to ensure a smooth construction process.
Materials
- Wood for desk top, sides, and legs: Choose your desired wood type and quantity based on the dimensions.
- Plywood or melamine board for drawer boxes: Select the thickness based on the weight of the items you plan to store in the drawers.
- Wood for drawer fronts: Opt for solid wood or plywood for a visually appealing finish.
- Drawer slides: Choose the appropriate type, extension length, and weight capacity.
- Wood glue: Use a strong, waterproof wood glue for all wood joints.
- Wood screws: Choose the appropriate size and length for each application.
- Finish: Select a stain, paint, or oil-based finish to protect the wood and enhance its appearance.
- Hardware: Acquire drawer pulls, knobs, and any other necessary hardware.
Tools
- Table saw: For accurate cutting of wood pieces.
- Miter saw: For making precise cuts at angles.
- Circular saw: For cutting large sheets of plywood or melamine board.
- Jig saw: For cutting intricate shapes and curves.
- Router: For shaping edges, creating grooves, and other detailing.
- Drill: For drilling pilot holes and attaching hardware.
- Screwdriver: For securing screws and other hardware.
- Clamps: For holding wood pieces securely during assembly.
- Sandpaper: For smoothing surfaces and preparing them for finishing.
- Tape measure: For accurate measurement of dimensions.
- Pencil: For marking cut lines and other details.
- Level: For ensuring that the desk is level and stable.
- Safety glasses and hearing protection: Essential for protecting yourself from flying debris and loud noises.
Construction Steps
Building the Desk Base
- Cut the desk top, sides, and legs to the desired dimensions. Use a table saw or miter saw for accurate cuts.
- Assemble the desk top frame. Join the sides to the top with wood glue and screws. Use clamps to hold the pieces together while the glue dries.
- Attach the legs to the desk top frame. Position the legs at the desired locations and secure them with wood glue and screws.
- Add support rails to the underside of the desk top. Install support rails along the length of the desk top to provide additional strength and prevent sagging.
Constructing the Drawer Boxes
- Cut the drawer box panels from plywood or melamine board. Ensure that the dimensions are accurate and allow for a slight gap between the panels for smooth drawer movement.
- Assemble the drawer boxes. Join the drawer box panels with wood glue and screws, ensuring that the joints are tight and secure.
- Install the drawer slides. Attach the slides to the sides of the drawer boxes and to the underside of the desk top, following the manufacturer's instructions.
- Attach the drawer fronts. Secure the drawer fronts to the drawer boxes with wood glue and screws, aligning them with the slides.
Finishing the Desk
- Sand the entire desk. Use sandpaper of various grits to smooth the surfaces and remove any imperfections.
- Apply the desired finish. Stain, paint, or oil the desk according to your chosen finish. Apply multiple coats for optimal protection and durability.
- Install hardware. Attach the drawer pulls or knobs to the drawer fronts.
Additional Considerations
- Safety: Always wear safety glasses and hearing protection when using power tools.
- Accuracy: Precise measurements and cuts are essential for a well-constructed desk. Use a tape measure, level, and appropriate tools for accurate results.
- Finishing: Choose a finish that complements the wood type and your desired aesthetic.
Conclusion
Building a wooden desk with a sliding drawer system is a rewarding project that combines craftsmanship with functionality. By carefully planning, selecting appropriate materials, and following these detailed instructions, you can create a personalized desk that meets your unique needs and enhances your workspace. Embrace the process, and enjoy the satisfaction of crafting a piece that reflects your individual style and creativity.


No comments:
Post a Comment
Note: Only a member of this blog may post a comment.